Over the years of reading NHTSA filings and teardown reports, I've noticed something: a large share of electrical gremlins trace back to corrosion at a single connector. A thin coat of dielectric grease on the right connections stops that corrosion before it starts. Here's what the data shows about where it works, where it doesn't, and the three-inch mistake that can make things worse.
If you've ever bought a tube for a boat trailer or a 1970s truck, you know the stuff: clear, thick, and a little tacky. It's a silicone-based compound that does not conduct electricity. That sounds backwards for something meant to improve electrical reliability. The trick is that it protects the connection rather than carrying current. It seals moisture and oxygen away from metal, which prevents oxidation and corrosion. For a family car driven through salted Midwestern winters, that small tube is cheap insurance.
The name confuses drivers. The word dielectric doesn't mean electron-friendly. It means the grease blocks or slows electric fields. That's why the number-one rule is to use it around the connection, not between the contact surfaces. Clean copper pins carrying current need to touch metal. The grease's job is to keep water and road salt out of the connector housing. Once I explain that, owners stop smearing it on pins and start using it the way the engineers intended.
What Is Dielectric Grease, Exactly?
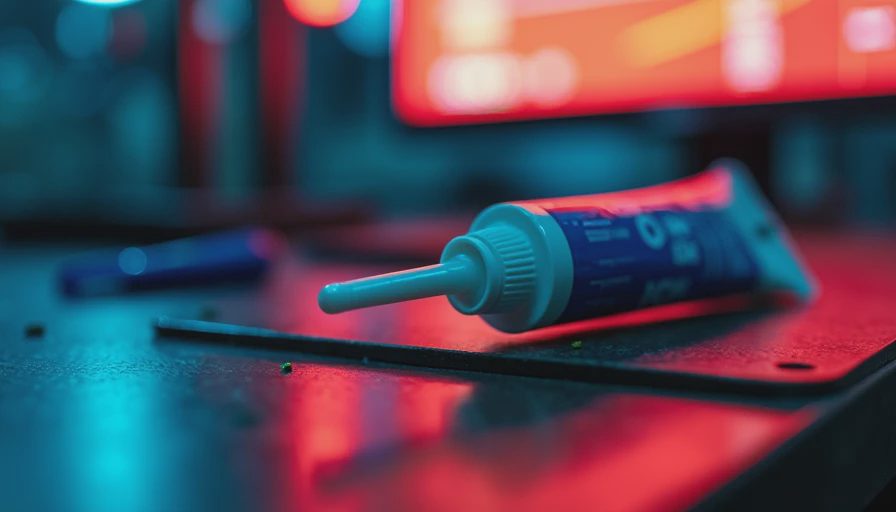
It starts with silicone oil and a thickening agent, usually silica. It won't melt away under hood heat, doesn't dry out like petroleum jelly, and stays soft from minus 40 degrees to 500 degrees Fahrenheit in most formulations. A typical tube from Permatex, CRC, or Super Lube runs between $5 and $12 at any auto parts store and lasts years for normal DIY use. You do not need a $30 specialty version. The regular stuff is fine.
The Three Connections I Always Check
On modern vehicles, I concentrate on three places. The first is spark plug boots. Moisture sneaks past cracked boots and causes misfires on damp mornings. A thin layer of dielectric grease on the inside of the boot helps it slide off the plug later and keeps water from tracking down the ceramic insulator. The second is battery terminals. Clean both posts, torque the clamps down, then coat the exposed metal and the base of the clamps with the same grease. Do not put grease between the post and clamp before tightening; you can insulate the connection and create resistance. The third is trailer and headlight connectors. Seven-pin trailer harnesses and weather-sealed headlight plugs collect water, and a small dab at the connector's gasket line stops that.
The Mistake That Causes More Damage Than No Grease
The most common failure I saw when I consulted on warranty claims wasn't lack of grease. It was grease in the wrong place. A technician or owner applies dielectric grease directly to the male and female terminals, thinking it improves current flow. It does the opposite. The grease is an insulator, and the only current path becomes the tiny area where the pins physically grind through the grease. In a vibration-heavy environment, that thin film can cause intermittent connection, heat, and eventually a melted connector. I've seen blower motor resistors and crankshaft position sensors fail this way. If the terminal pins are already discolored or green, grease will not fix it. Clean the corrosion first, then decide if the connector needs replacing. A $6 tube can't fix a $600 wiring harness.

How to Apply Dielectric Grease the Right Way
Treat application like a two-minute inspection. Start with clean parts. Any grease on top of corrosion just traps moisture. Use an electrical cleaner and a small brass brush to remove oxide. Dry everything completely. Take a small brush or toothpick and apply a thin bead around the inside of the connector housing, the rubber grommet, or the boot. You want a visible film, not a blob. Then connect the parts and make sure the latch snaps fully. Wipe away any excess that squeezes out. For battery terminals, tighten first, then seal. For spark plug boots, coat the inside of the boot only. If you get grease on the bare terminal pins, wipe it off with a clean rag and use a contact cleaner. Your goal is a sealed connection with solid metal-to-metal contact.
What Owners Should Do This Week
Here's what the data shows. Here's what owners should do. This week, pop the hood and inspect the three connections I listed: battery clamps, spark plug boots if you know how to remove one carefully, and any trailer harness connectors. Look for white or green corrosion, cracked boots, or moisture under the caps. If everything is clean, apply a thin coat to the connector seals and boot interiors. If you see corrosion, clean it first and consider replacing the terminal. While you're at it, check your owner's manual for any notes about dielectric grease. Some manufacturers, particularly on oxygen sensor and ABS connectors, specify a particular type or prohibit it. Follow the manual over any generic rule. A small tube and twenty minutes today can prevent a no-start diagnosis in January and a $150 tow bill.
Bottom line: dielectric grease is a maintenance tool, not a repair miracle. Use it sparingly on the right parts, clean first, and follow the manual. Here's what the data shows: drivers who do that rarely see the electrical failures that fill repair shop waiting rooms. Here's what owners should do: buy one $7 tube, take twenty minutes this weekend, and protect the connections you can't afford to lose.





No notes on this sheet yet.